Getting Your Head and Hands Around the Sony a7R II Camera
A detailed view of a bust of Hercules in the Queen Victoria Gardens in Melbourne, Australia.
I’m very much enjoying the new Sony a7R II camera. It’s revolutionary on so many levels.
The above photo features a bust of Hercules from the Queen Victoria Gardens in Melbourne, Australia. I’ve often noticed how light seems to bring this bust to life and have photographed it on several occasions over the years.
The statue is quiet weathered, so I enhanced its remaining texture on the desktop. This was particular necessary as the statue was predominantly front lit.
While that’s great when you wish to reveal identity and/or color, it’s not the direction of light best suited to highlighting texture.
Ergonomics of Sony a7R II Camera
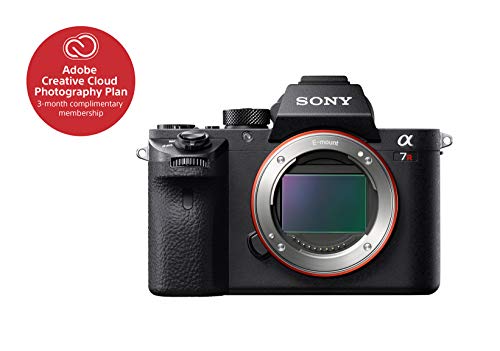
However, regardless of all the technological advancements associated with the Sony a7R II camera, for it to be a useful tool it must feel good in hand, be relatively easy to use and portable.
The good news is that I found the ergonomics of the camera to be very good. It seems to be well weighted and feels comfortable in the hand.
The camera’s buttons and dials are reasonably sized, given the relatively small size of the camera, well laid out and easy to find.
In fact I’m able to get to almost all of the camera’s features without moving my eye away from the viewfinder.
This is of critical importance when photography people as your subject can become quite uneasy when you appear to be paying more attention to your camera than you are to them.
One of the tricks in eliciting a great expression is to be able to conduct all of the camera adjustments in an efficient and unobtrusive manner.
The fact that the options listed within the camera’s excellent Function menu can be accessed and set from within the viewfinder is marvelous.
The same is true for accessing and setting any of the options inside the camera’s menu.

About To Travel?
The Electronic Viewfinder
I have to admit I was very nervous about how I’d respond to the camera’s Electronic Viewfinder (EVF). I’ve never previously owned a camera with anything other than an optical viewfinder.
I’d seen other camera’s with EVF’s and found them to be very unsettling, with a kind of static pattern that interferes with the viewing experience.
Now that the quality of EVF’s have improved as much as they have I thought that, after a little use, I’d adapt. The good news is, I think I have.
The EVF in the Sony a7R II camera is the largest in any mirrorless or DSLR camera, with the obvious exception of some medium format cameras.
It’s a large, comfortable, bright and high resolution viewfinder providing a great viewing experience which is a great advantage for achieving critical focusing, image composition and when working under low light conditions.
Under exceptionally dark conditions a lot of interference occurs, but the image itself remains bright.
Lines, shapes and colors underpin this study in geometry from a photowalk in Melbourne, Australia.
How It Feels Is Personal
Cameras, while made for the masses, remain personal devices. If the camera doesn’t feel right, or possesses a logic that you’re likely to have trouble adjusting to, then it may not be the right camera for you.
Where ever possible get your hands on the two or three cameras you’re most interested in and spend time with them to establish which one best suits you and the type of photography you’re most likely to be undertaking over the next few years.
Sony Zeiss 24-70mm f/4 FE Lens
All of the photos in this post are made with the new Sony a7R II camera and the Sony Zeiss 24-70mm f/4 lens. It’s a great lens and an excellent choice for a high quality, general-purpose lens that lends itself well to landscape and portrait photography.
You can, of course, use any focal length that’s available for any kind of subject matter. However, here’s a guide that works well with full frame cameras such as the Sony a7R II.


This is the best photography course in Melbourne. Learn photography, master your camera and realize your creative potential by making beautiful, life affirming images.
I’m Glenn Guy, an experienced teacher and owner of the Travel Photography Guru website and blog.
Here’s the private photography course that’s specially designed around your needs, your camera and the photos you most want to create.
How to Use the Sony Zeiss 24-70mm f4 FE Lens
24 mm Focal Length
24 mm is a classic for landscapes, providing a relatively wide-angle of view.
The best way to use a wide-angle lens is to compose your image in such a way that ensures you have something of interest very close to the camera.
In a landscape that might include flowers, textured earth or rocks. Whatever it is, color, texture or shape are important design elements to consider when looking for suitable foreground material for wide-angle landscape photography.
35 mm Focal Length
The mild wide-angle view provided by the 35 mm focal length is ideal for environmental portraiture where the subject, positioned close to the camera (e.g., 1-1.5 meters away), is portrayed within an environment that’s appropriate to them.
Imagine a teacher in a classroom, a surfer on the beach or a football (i.e., soccer) player in front of goal. This is a great focal length for photojournalism and documentary photography.
50 mm Focal Length
The 50 mm focal length has, for many years, been regarded as a standard or normal lens. It provides a perspective that’s similar to that of the human eye and, thereby, draws the subject or scene in a relatively realistic and, therefore, unremarkable manner.
To make interesting images with a 50 mm lens you’ll often have to move, exploring a range of viewpoints and angles of light.
The glow of the golden hour illuminates these skyscrapers in Lorimer Street on the edge of the Docklands precinct, Melbourne.
70 mm Focal Length
A focal length of 70 mm is the beginning of the range (i.e., 70-135mm) associated with traditional portrait lenses.
The slight magnification produced by a lens of/at this focal length produces a narrower angle of view than the standard 50 mm lens, helping to concentrate attention on the subject’s face.
As it’s a mild telephoto lens the 70 mm focal length tends to draw the average face in a more flattering manner.
Most of us, particularly in our mid to later years, feel that our faces are too fat and our noses too long. Telephoto lenses tend to render faces thinner and noses shorter which is one reason why they’re favored by professional portrait photographers.
While there’s no doubt that opportunities for dramatic images exist at focal lengths either side of the relatively narrow range offered by the Sony Zeiss 24-70mm f/4 FE lens, it’s still a very good choice for travel photography.
That is if, in your mind, image quality is more important than the extended range of focal lengths offered by a lens such as the enticing Sony 24-250mm f/3.5-f/6.3 FE lens.
It’s a simple case of convenience versus quality. One lens to rule them all, or two or more lenses to cover the range with greater quality.
While I understand the allure and convenience offered by the Sony 24-250mm f/3.5-f/6.3 lens, which may well be a great choice for enthusiasts, my preference would be to opt for the following lenses:
Sony/Zeiss 24-70mm f/4 FE lens
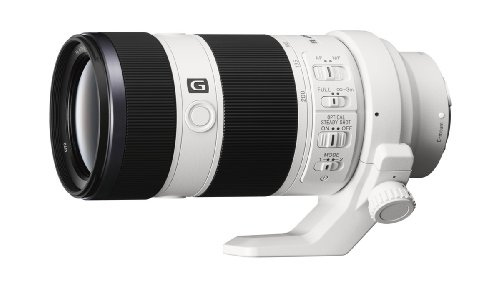
Sony/Zeiss 70-200 f/4 FE lens
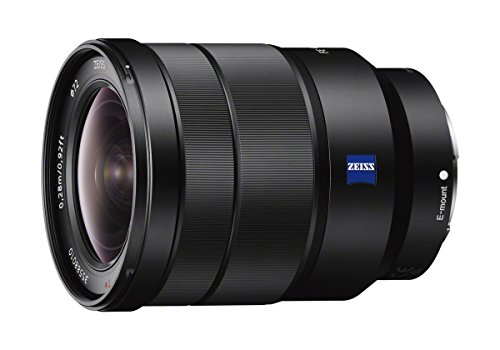
Of course, as I love ultra-wide angle perspectives, I’d also want to include a wider option such as that offered by the Sony 16-35mm f/4 Vario-Tessar T FE lens.
Needless to say I bought one. The quality from this lens is quite exceptional.
Leica Lenses On The Sony a7R II Camera
By the time I add one or more of my three Leica lenses into the equation I’m ending up with a relatively heavy bag of photographic goodness.
Whether I actually take those magnificent Leica lenses on overseas trips or not is going to be tricky. Strictly speaking the lovely Sony Zeiss 24-70mm f/4 FE lens covers the same range, in a single lens, compared to what I have with my three Leica lenses.
The Sony lens is also auto focus, while the Leica lenses are manual focus only.
But Leica glass and the build quality of their lenses is probably without peer. And the fact that they’re f/1.4 and f/2 lenses opens up great opportunities for low light and/or extremely shallow depth of field work.
Colorful rooftops on either side of the fjord in the village of Vágur on the island of Suðuroy in the Faroe Islands.
Beware Of Dust Demons
One thing most folks don’t think about, until after the fact, is sensor dust. That’s why it’s important to avoid changing lenses under windy conditions.
The likelihood of dust landing on the sensor is actually more likely to occur with a mirrorless camera as, unlike a DSLR, there’s no mirror between the lens and the camera’s sensor. Yikes!
Just what I take on my next photography trip, a two-week driving adventure around the South Island of New Zealand in November, will be based upon what I expect to be photographing and which lenses I’II have to choose from.
One things for certain: the Sony Zeiss 24-70mm f/4 FE lens will be my default lens. I’II also bring along the Sony 16-35mm f/4 Vario-Tessar T FE lens, which will be ideal for many of the landscape locations I photograph.
With luck I’II also have the Sony 70-200mm f/4 FE lens added to my kit by then. It would be handy for those more distant scenes, particularly when photographing from near the car.
This lovely wooden church in the village of Sandur, on the island of Sandoy in the Faroe Islands, is a good example of traditional church architecture with black tarred walls topped by a turf roof and a white belfry.
Photography, Like Life, Involves Compromise
As this is a driving tour I can afford to take a bit of extra gear and, when undertaking a hike/trek/tramp of any distance, I prefer to simply take from the car the lens or lenses I’m most likely to use.
It’s for this reason that I may take one or more of my Leica lenses along. But on a longer trip, without the advantage of a car to stow gear away in, there’s just no point in having a smaller and lighter camera if you’re going to load up with too many lenses.
And let’s not forget the potential problems associated with bringing camera gear onto an airplane or, for that matter, leaving some of your kit in the car while you’re off wandering around the landscape.
Those issues, most certainly, have to be considered and managed.


